
Pages showing the construction
of the Branch Junction, Page Two.
This page will take a while to download, please be patient.
[ Back
to Home menu ]
[ The Group | TheLayout
| Ingredients
| Stock List | Gallery | Details
| ExhibitionDiary| Links
]
Branch Junction Pages
[ Page
One | Page Two | Page Three | Page Four
| Page
Five | Page Six ]
[ Page
Seven | Page Eight | Page Nine
| Page
Ten | Page Eleven | Page Twelve
]
I missed a few sessions so there is a bit of a jump in
the photo's!
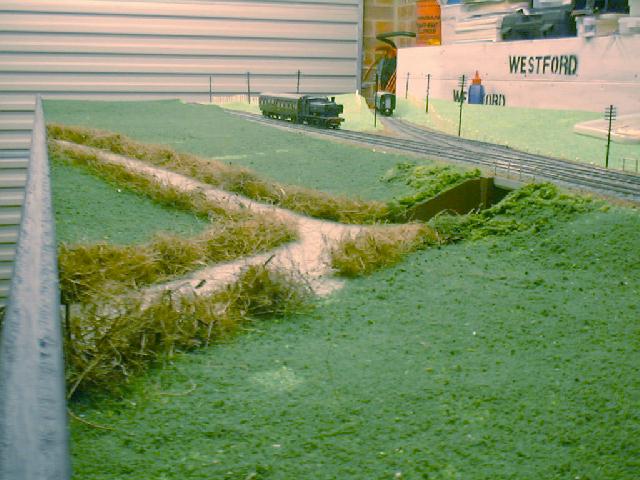
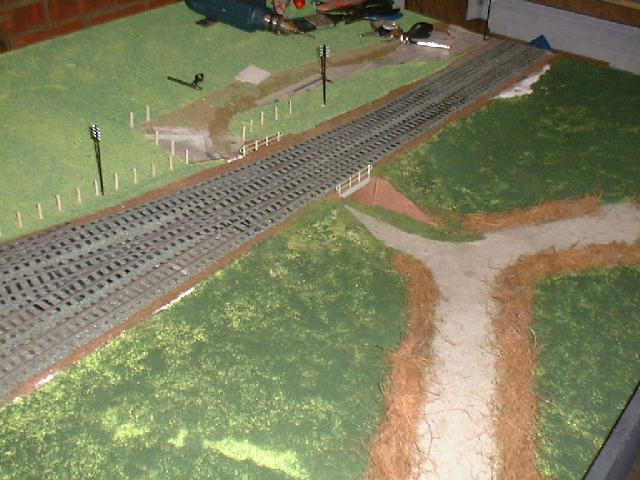
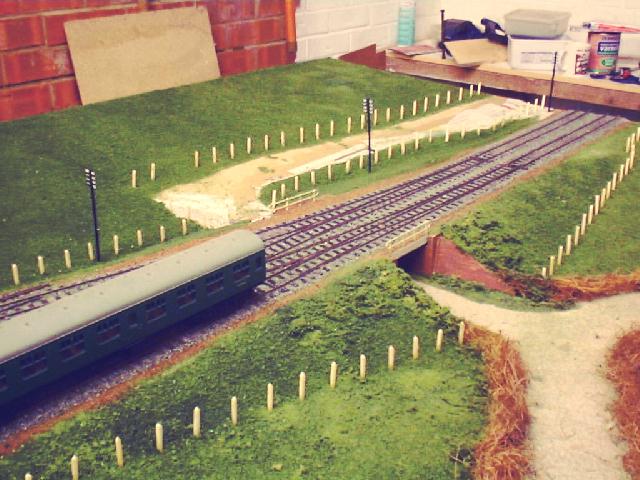
The scenery has progressed a great deal, initial landscape
coverings have
been applied. A base coat of green paint and while this is still
wet, green
sawdust scatter is sprinkled on. When this has dried, clear matt
varnish is librally
brushed on and Woodland Scenics 'turf' scatter is sprinkled on.
Two or three more
layers are applied to build up the texture using other shades of
greens.
The hedges are teased out plumbers hemp, stuck down with PVA
adhesive.
The brick abutments are Slaters plastikard and have now
been painted. The
bridge sides are scratch built from brass. The road surface is
fine sand
sprinkled on to wet paint.
This low level shot shows the branch line
running in to the cutting.
Hopefully the cutting will disguise where the line runs through
the back scene.
Once the ground cover has been finished, the fence posts will be
painted and
the 'wire' added. This will be thin sewing cotton. The Ratio
telegraph poles
will also have wires added using the same coton thread.
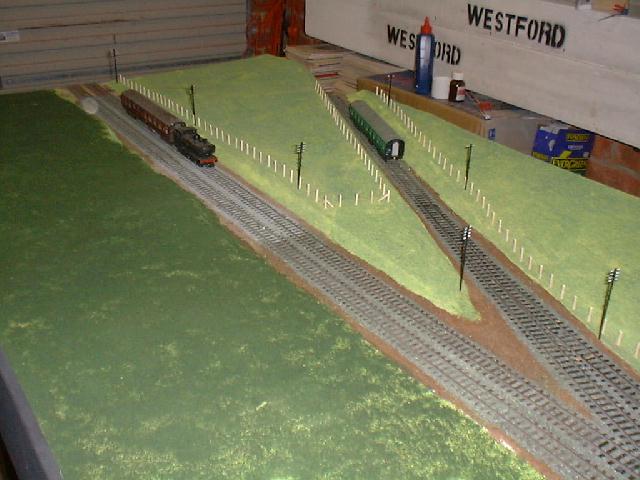
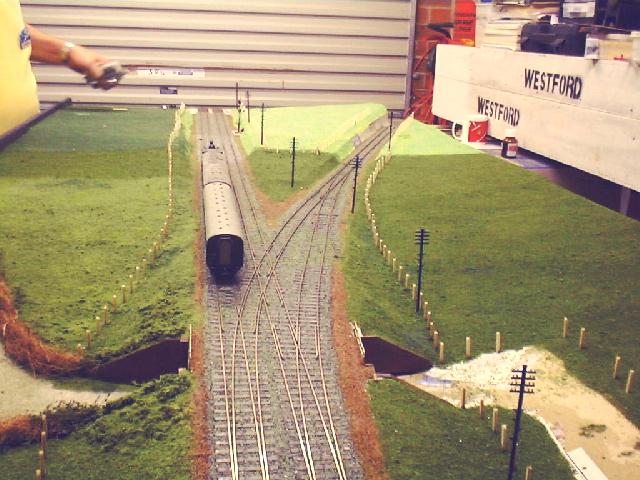
Here is a high level shot of the same scene as above. The light
shade in the
mainline ballasting was caused by the close to freezing
temperatures at the
time of ballasting. PVA should dry transparrent, but when it is
very cold, it dries
cloudy! As the ballast will receive a wash of weathering, this
should blend the
light area into the rest of the track.
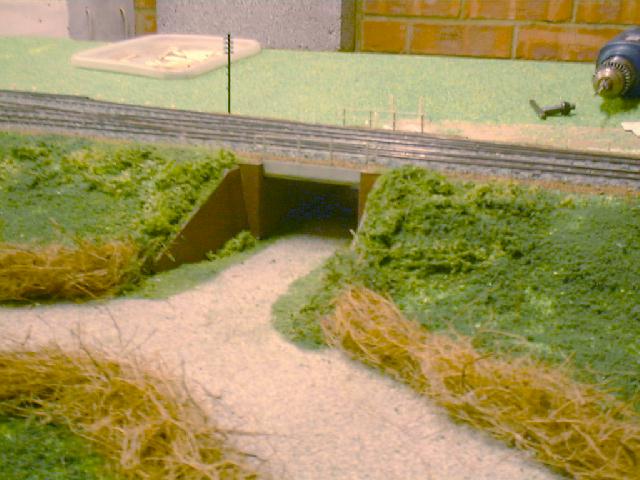
This is the small road bridge. The
light green is the first stage and the blotchy
bit in the foreground is stage two.

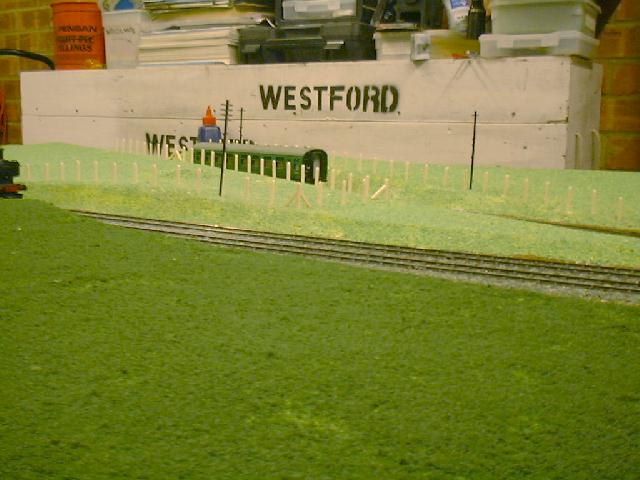
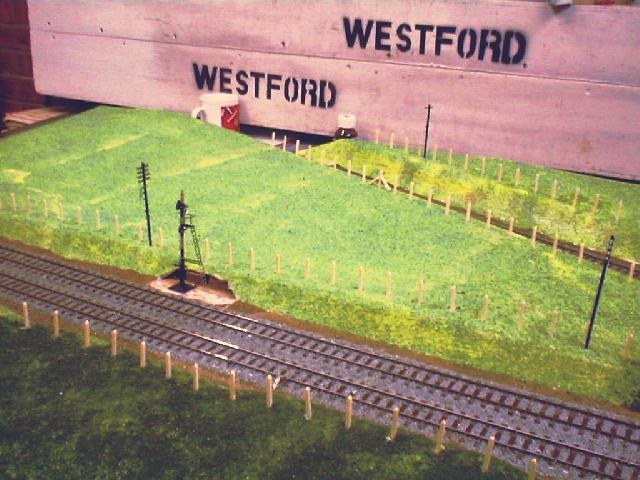
General view of the extension board.
Fencing in progress.
A week later and all the fence posts are in position and about
three quarters of
the 'grass' has been 'planted'! First signal for the extension
installed and just
visible in the distance.
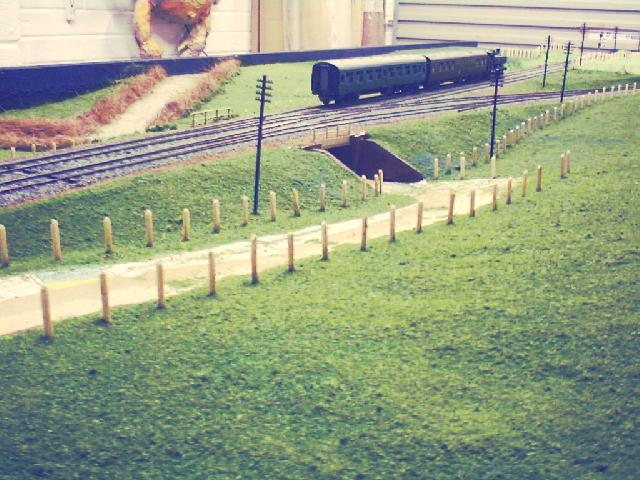
Things are looking good.
View of the junction from above the branch.
A close up of the underbridge.
The new signal in place and operational.
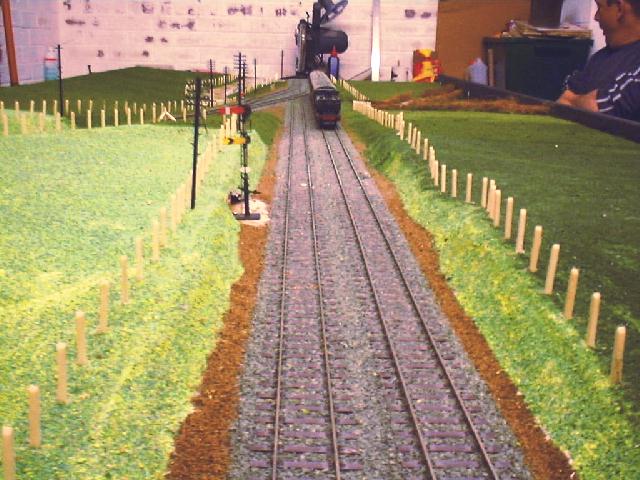
A view along the main line looking towards Westford. The new
signal with
stop arm (red with white stripe) and fixed distant (yellow
"fishtail" with black chevron)
protecting the branch junction.
There are two more signals to be built and installed on this
board, one for the branch
which will be a wooden post version (the first for Westford) and
a junction bracket
for the up line. (beyond the train in the above picture)
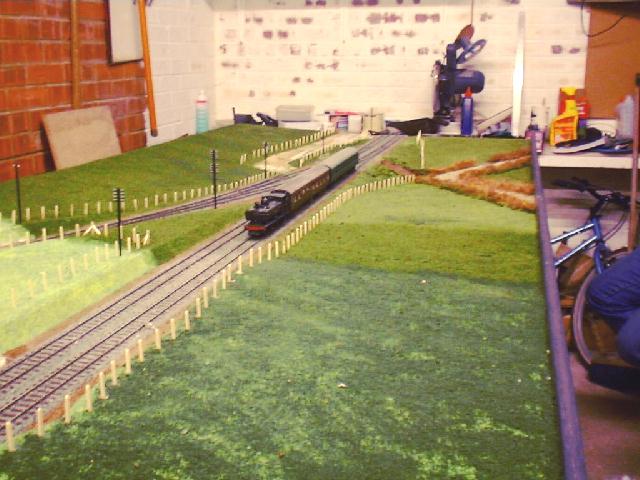
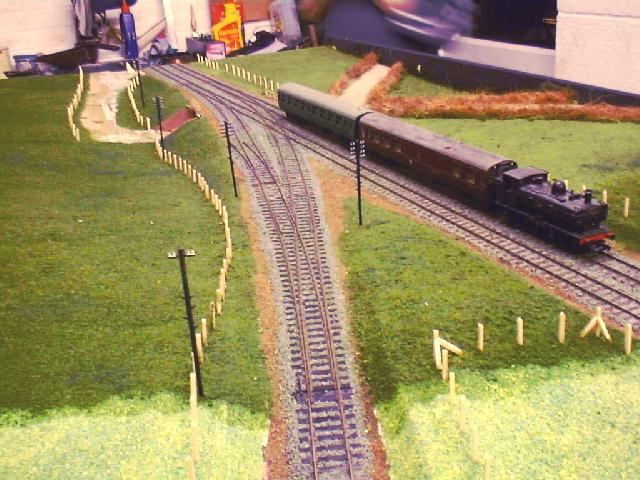
A test train on the 'Up' line. The different
shades in the grassed areas shows the
stages in building up the texture.

Here is a close up of the signal, the cut out
in the scenery will have a retaining wall
built and the base will be blended in with the surroundings. The
signal is operational
and is operated by a Fulgurex slow action point motor mounted
below the baseboards.
None of the signals on Westford are lit as in the bright lights
used to illuminate the layout,
lighting in semaphore signals is hardly noticeable, especially as
most are viewed from the side!
Branch Junction Pages
[ Page
One | Page Two | Page Three | Page Four
| Page
Five | Page Six ]
[ Page
Seven | Page Eight | Page Nine
| Page
Ten | Page Eleven | Page Twelve
]
Top of Page
Thank You for visiting our model railway pages.
[ Back
to Home menu ]
[ The Group | TheLayout
| Ingredients
| Stock List | Gallery | Details
| Links ]
© Copyright Terry Bowden & Westford Modellers Group. 2002 - 2008